
DIY Christmas Ornaments Kids Can Make
It starts the same way every year: flour on the counter before anyone’s really awake, a Christmas playlist on shuffle, three kids in pajamas negotiating for the good chair, and cocoa that’s supposedly “for later” gone by 9 a.m. This is our annual ornament day, and it’s my favorite kind of mess.
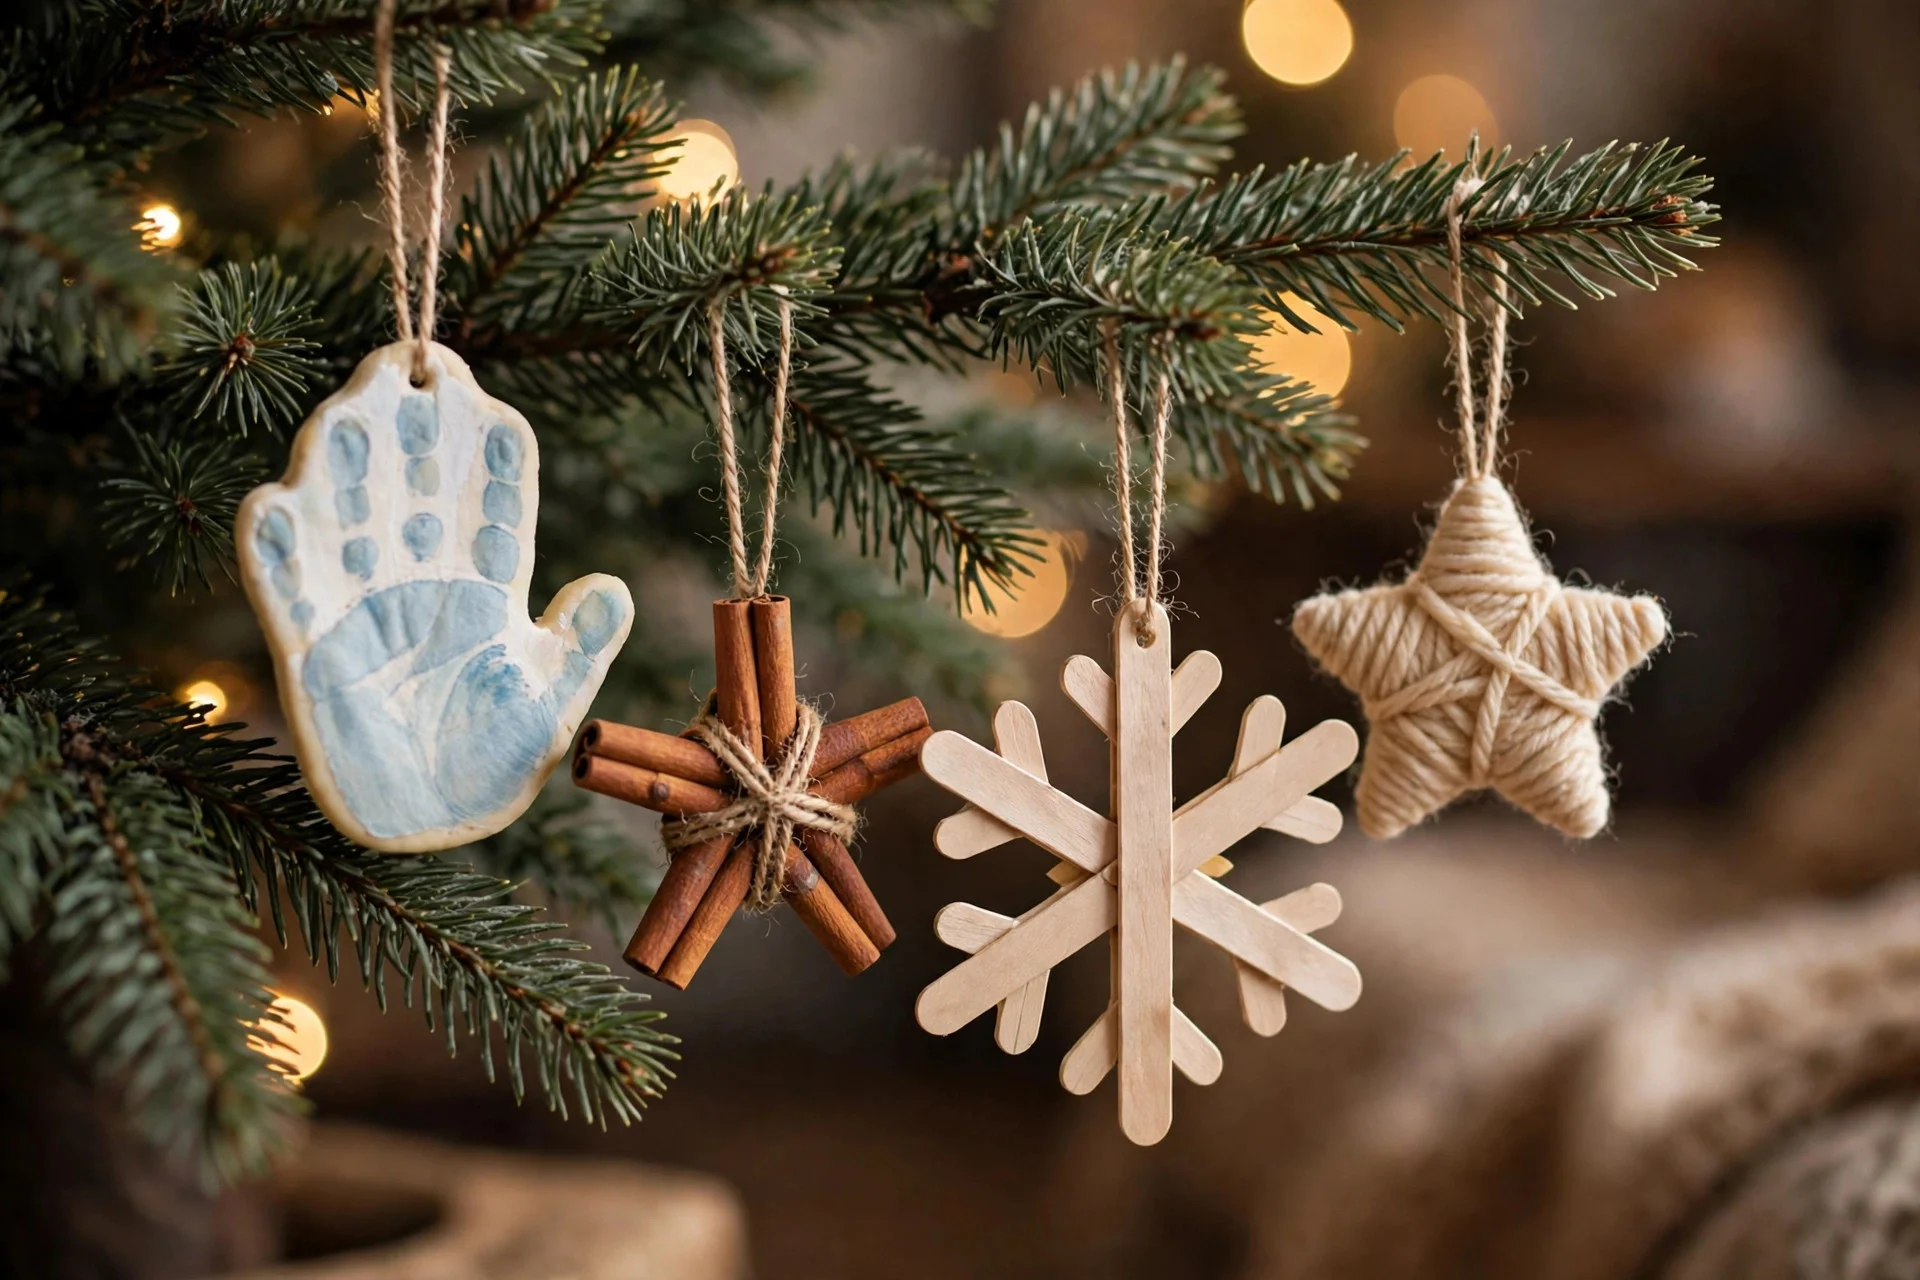
These are the eight ornaments on this year’s list — all genuinely doable by kids, with my honest notes on what breaks, what takes forever to dry, and which ones a toddler can actually help with. The rest of our Christmas ideas live in one place too. Pick three or four, or go all in like we do.
Before You Start: The 10-Minute Setup
Ten minutes of setup saves an hour of chaos, I promise. Cover the table (an old plastic cloth lives in our Christmas box just for this), put out aprons or play clothes, and cut ribbon and twine into hanging lengths now, while your hands are clean.
Decide where things will dry before you start — a parchment-lined cookie sheet on top of the fridge is our drying station, out of reach of the dog and little fingers. Add a bowl of soapy water and a towel for painty hands. Ready.
1. Salt Dough Handprint Ornaments
Best for: ages 3+ (a grown-up does the pressing hand-holding) · Mess: floury but forgiving · Dry time: bake today, paint tomorrow
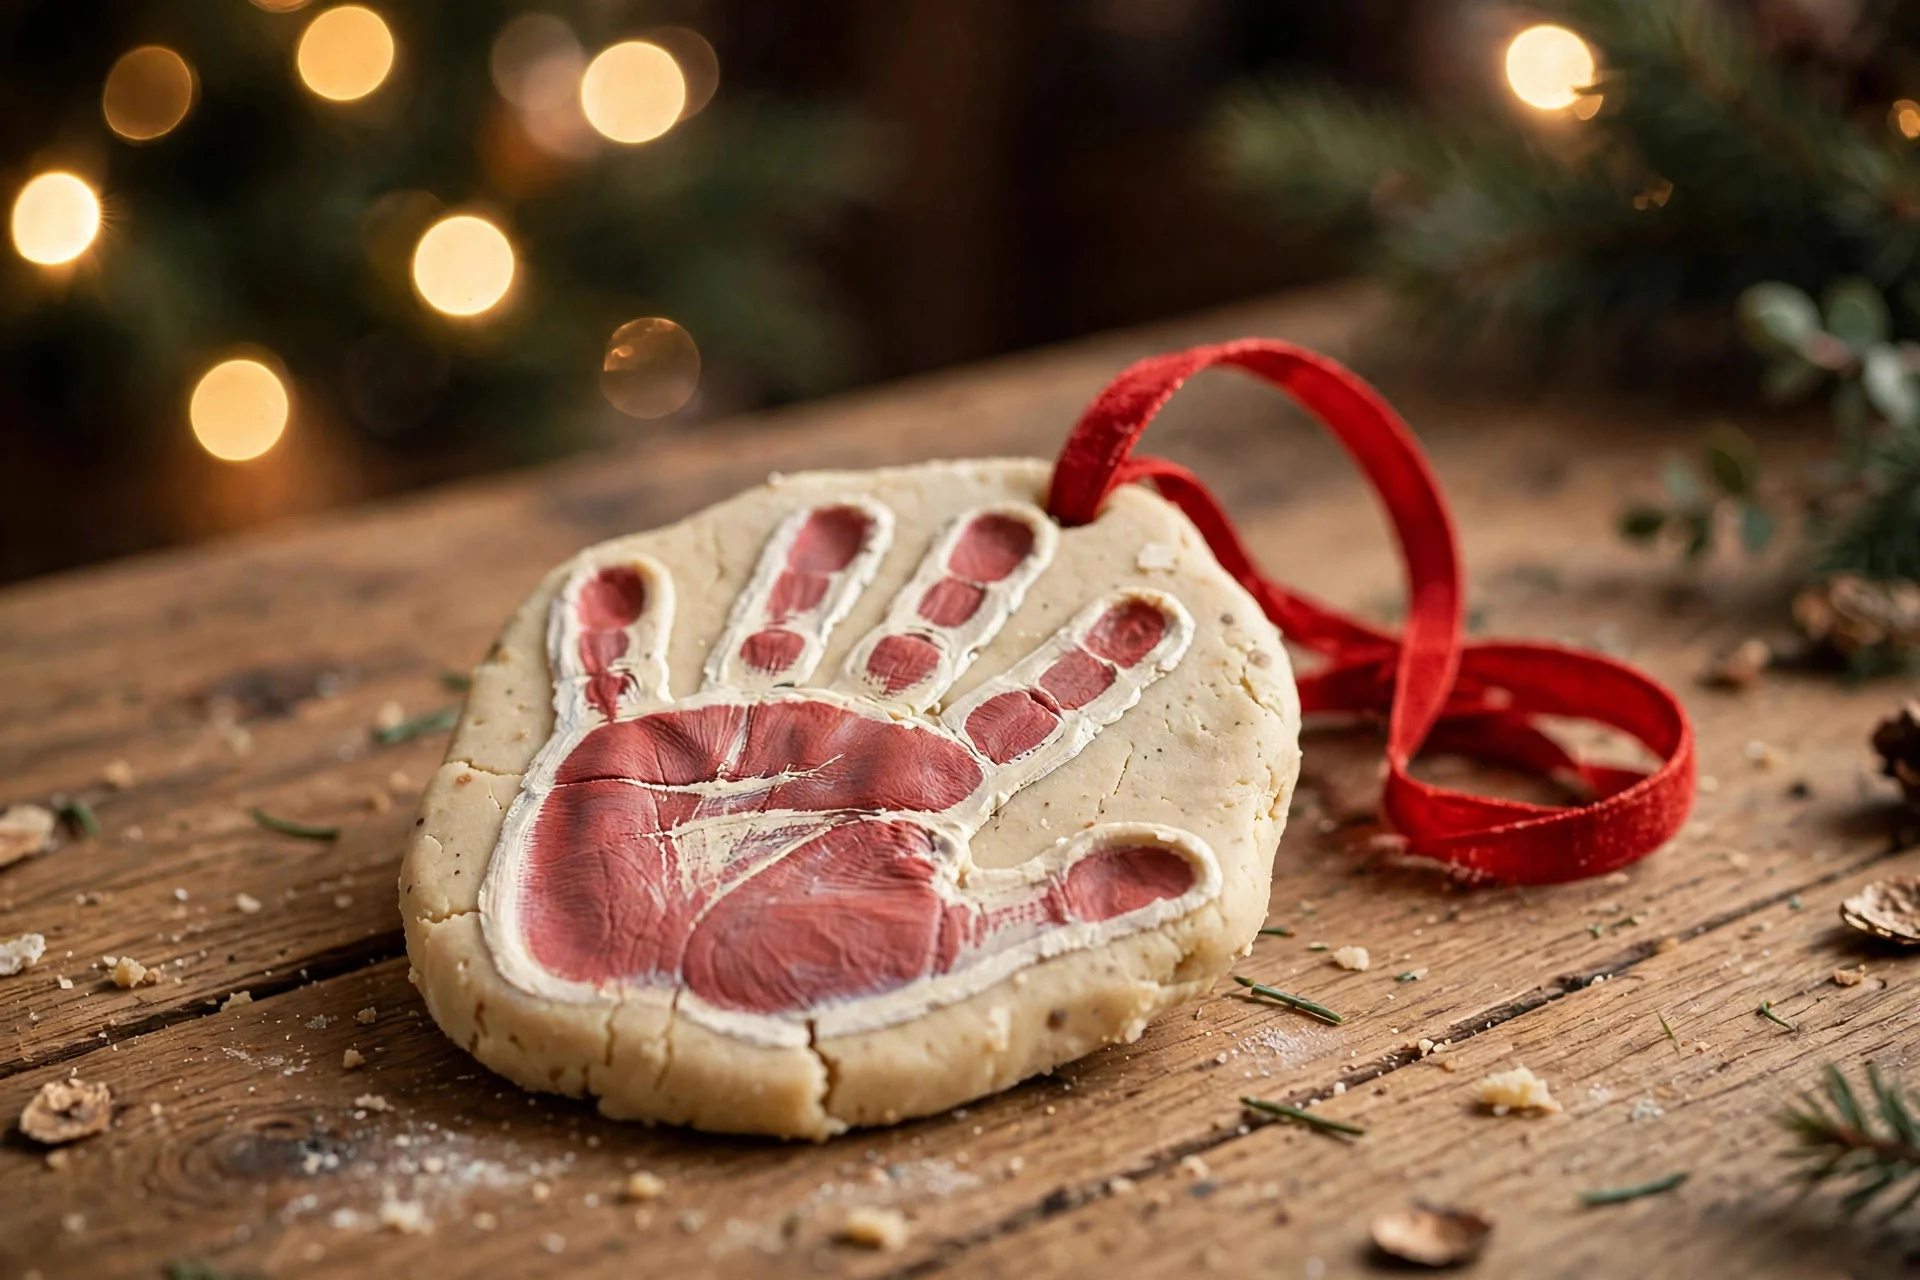
We always make these first, because they’re the slowest. They’re also the ones I can’t throw away — I have a handprint from when my youngest’s whole hand was smaller than my thumb.
The Salt Dough Recipe
- 2 cups all-purpose flour
- 1 cup fine table salt
- 1 cup warm water (add it slowly — you might not need it all)
Stir flour and salt together, pour in the water a bit at a time, and knead about five minutes until it’s smooth like play dough. Too sticky? Knead in flour a spoonful at a time. Roll to about ¼ inch thick — thicker puffs and cracks; thinner lets little fingers poke through.
Press a hand firmly into the dough (wiggle fingers slightly as you lift, for a clean print), or cut shapes with cookie cutters. Poke a hole with a straw before baking, not after — ask me how I know. Bake at 250°F (120°C) for 2–3 hours, flipping halfway, until hard all the way through. Cool completely, then paint the next day with acrylics and add a clear sealer if you’re keeping them for years.
My honest note: if one puffs up like a biscuit, the oven was too hot or the dough rolled unevenly. It still counts. Grandma will still cry.
2. Cinnamon Applesauce Ornaments

The smell reaches the front door before the ornaments are even cut out. The first year I made these, my neighbor knocked to ask what was in my oven — nothing was; they were drying on the counter. My grandmother made a version too, and one whiff of cinnamon dough puts me straight back at her table, swinging my legs, waiting for the rolling pin.
The dough is almost silly: about 1 cup of unsweetened applesauce stirred into 1½ cups of ground cinnamon, plus a spoonful of white glue for sturdiness. It should feel like stiff cookie dough. Roll it between two sheets of parchment to ¼ inch, cut stars and hearts, poke a straw hole, and air-dry on a rack for 24–48 hours, flipping once a day. (Impatience tax: a 200°F oven for about 2 hours works too.)
They need no paint — just twine and maybe a wooden bead. Older kids can roll and cut these solo; the dough behaves. What it doesn’t survive is being dropped on tile. These are the fragile ones, and they are not food, even though your whole house will smell like pie. More on that in the questions below.
3. Clear Ball Ornaments

The fastest ornament on the list — no drying, no paint, no waiting. Buy clear plastic fillable balls (plastic, not glass, if anyone under five is involved), set out fillings in little bowls, and let each kid pick:
- Snow scene: fake snow, a tiny bottle-brush tree, done
- Photo ball: a small printed photo, rolled around a pencil and slipped inside
- Sparkle: tinsel strands and sequins, shaken, not stirred
- Nature walk: tiny pinecones, a feather, a bit of moss
- Memory ball: a ticket stub, a scrap of wrapping paper from a favorite gift
Pop the cap off, fill about a third full (a funnel of rolled paper helps toddlers pour), cap on, ribbon on top. Glitter clings to everything with static — use less than you think. Visiting cousins can make these at the last minute and still take home something that looks store-bought.
4. Popsicle Stick Snowflakes

Age: 5+ · Mess: low · Dry time: paint only, about 30 minutes
Quick, cheap, and weirdly addictive. Glue three craft sticks into an asterisk — a grown-up with a low-temp glue gun is fastest. Paint white or pale blue, shower with glitter while the paint is wet, glue a twine loop to the back.
Learned the hard way: with wood glue, snowflakes must sit untouched a few hours before painting. We painted too soon once, and three snowflakes slowly relaxed into modern art. Stack a small one on a big one for the fancy version.
5. Pinecone Owls & Critters

These start a few days before ornament day, on a walk. We collect pinecones after a windy day — the tree at the end of our street drops the good ones — then I bake the haul at 200°F for about 30 minutes. That opens them up and deals with any bugs. Let them cool fully.
For an owl: two white felt circles, two smaller black circles (or googly eyes, no judgment), a tiny orange triangle beak, and two leaf-shaped felt wings, glued to the pinecone’s fat end. Add a twine loop to hang it. The same cones become hedgehogs with a felt face on one end.
Kids from about four can do the gluing with a low-temp gun or tacky glue. A dry brush of white paint across the tips makes them look snow-dusted — and by this point in ornament day the table is complete chaos and nobody minds at all.
6. Dried Orange Slice Ornaments

The slow one, and the prettiest. Hold a finished slice up to the window and it glows like a little stained-glass sun — my middle kid does this with every single one, like she’s checking they’re real.
A grown-up slices oranges about ¼ inch thick. Pat each slice really dry with a towel — this step matters, because damp slices can go moldy instead of drying. Bake on a rack at 250°F for around 3 hours, flipping every 45 minutes, until dry, firm, and translucent at the edges. Thread twine through the top and tie on a cinnamon stick if you’re feeling fancy.
Start these a day or two ahead, or first thing in the morning — the oven does the work while the other crafts happen. If the edges brown, your oven runs hot; drop the temperature next batch. They keep for the season, and ours go in the compost in January.
Garland option: thread a long piece of twine through a whole batch, alternating slices with wooden beads or bay leaves, and drape it across a window. It’s the thing guests ask about.
7. Fingerprint Reindeer Bulbs

Five minutes each, and babies can do them (well — babies provide the equipment). Press a thumb sideways into brown paint and onto a shatterproof bauble. That’s the reindeer’s face. Let it dry ten minutes, then a paint pen adds antlers, ears, dot eyes, and a red nose.
We run these assembly-line style: one kid stamps, one draws antlers, I write names on the backs. A whole herd takes twenty minutes, and there’s no wrong way for antlers to look. Shatterproof balls for anyone little — glass is for the grown-ups’ craft night.
8. Yarn-Wrapped Star Ornaments

The last craft of ornament day, every year — the calm one we do while the salt dough finishes in the oven and the playlist gets to the slow songs. Cut star shapes from a cereal box ahead of time (the only real prep) and snip a few notches around the edges so the yarn catches.
Dot of glue, start wrapping — around and around, any direction, until the cardboard disappears. Tuck the end under the last wraps and add a twine loop. Kids five and up can wrap solo; for younger ones, try the team method — they hold and turn the star, you guide the yarn.
Red and cream are our classics, but rainbow-variegated yarn made the prettiest one last year. Zero mess, zero drying, and they never break in the storage box.
Gift-Worthy Finishing Touches
An ornament in a sandwich bag is a craft; in a little kraft bag with a twine bow, it’s a gift. Do the finishing touches the next day, when everything’s dry: write each maker’s name and the year on the back with a fine paint pen — future you will be so glad you did.
Our routine: ornament nestled in tissue, into a small kraft bag or box, twine tied twice, and a hand-written tag — “Made by Emma, age 6” beats any printed card. The handprints and fingerprint reindeer are the grandma gold; those go first. Mailing salt dough? Tissue plus a small sturdy box and it’s fine. Cinnamon ornaments are fragile — hand-deliver those, or pack them like eggs. (I keep printable gift tags in the Christmas Bundle in our shop for exactly this wrapping session.)
Questions I Always Get
How long do salt dough ornaments last?
Years — I have some going on six. The keys are drying them completely (no soft middle), sealing them, and storing them in tissue in a dry box, not a damp garage. If one ever feels soft or smells musty, its time has come; moisture is the only real enemy.
Are the cinnamon ornaments safe around toddlers and pets?
Plain answer: they’re not edible, so treat them like any other decoration. They’re made from applesauce and spice — often with glue in the mix — and cinnamon in quantity can irritate little mouths and stomachs. They also smell exactly like food to a dog. Hang them high, supervise curious toddlers, and keep them away from counter-surfing dogs. Same rule as chocolate: delicious-smelling, not for eating.
What’s the best paint for ornaments?
Regular acrylic craft paint for almost everything — it sticks to salt dough, wood, and pinecones. Acrylic paint pens are worth it for details, faces, and name-writing; they’re how the reindeer get antlers. A coat of clear sealer or Mod Podge at the end keeps paint from rubbing off in the box.
When should we make them so they’re ready for the tree?
Two sessions if you can: oranges and salt dough first (the slow ones — salt dough bakes one day, paints the next), everything else the following day. Only got one afternoon? Start the dough and orange slices in the morning and do the other six while the oven works. Everything here can be on the tree within a weekend.
However your table ends up — flour in someone’s hair, a snowflake that’s mostly glitter — that’s the good stuff. The ornaments I reach for first are never the perfect ones.
📌 Pin this for your Christmas crafting day — and for a free printable in your inbox every Friday, join The Nest List below.
